tiddly-om-pom-pom – another holiday at home, what shall we do?
Published 21st October 2020
Estimated 2 minute read time.
The timeless pom-pom has never been so fashionable and comes in a numerous ghoulish guises, from scary pom-pom skulls over on Christine Leech of ‘sewyeah’ Instagram feed to ghastly pom-pom garlands by My Type of Sunday to wretched pom-pom wreaths by Poppys Pompoms.
The key to creativity with pom-pom making is variety; be daring with your choice of yarn colours – we have plenty, mix and match your pom-pom sizes – our Pom-Pom Maker comes with a trio of different sized discs to craft from, and trim to an array of shapes – we have scissors for that too!
Whether you have a Korbond Pom-Pom Maker or not, the principles are the same, so here is your simple how to guide:
1. Take your trusty Korbond Pom-Pom Maker and pick the red, yellow or blue set of discs depending on what size pom-pom you wish to make.
ALTERNATIVELY2. Using a glass or a tin can as a template, draw around and cut out two large circular discs from a piece of sturdy card.
3. Draw a smaller circle in the centre. The distance between the inner and outer circle will determine how big your pom-pom will be. Make sure this smaller circle isn't too big. If it is too big it will be harder tie off at the end.
4. Cut slit from the outer circle to the smaller one and cut out the smaller one too. Repeat for second disc. You now have a makeshift homemade pom-pom maker.
5. Put both discs together. Start wrapping your yarn all the way around, feeding through the hole in the middle, you may find it easier to thread your yarn onto a Large Eye Needle or Yarn Needle. The thicker you wrap your yarn the fluffier your pom-pom will be.
6. Start cutting the yarn, by pushing your scissors between the two discs. A good pair of scissors makes all the difference.
7. Make sure your short pieces of yarn do not fall out of the central hole. Carefully wrap a long piece of yarn between the two discs and around your pom-pom.
8. Tie off as tightly as possible, a double knot is good.9. Your basic pom-pom is finished, now you can trim it to the desired size and shape and have fun adding decorative accessories.
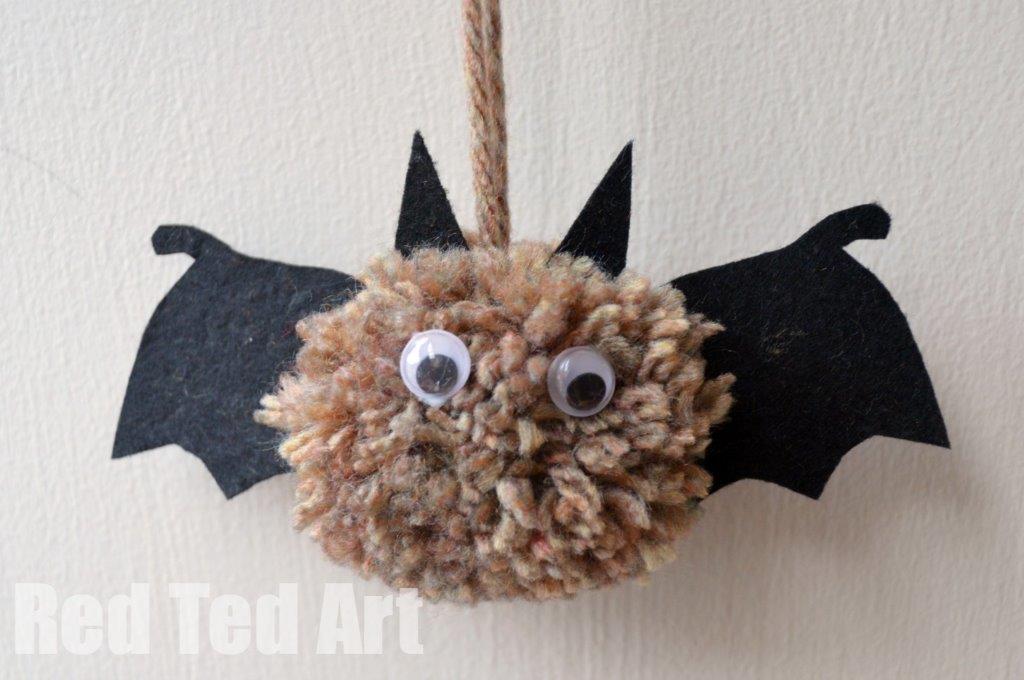
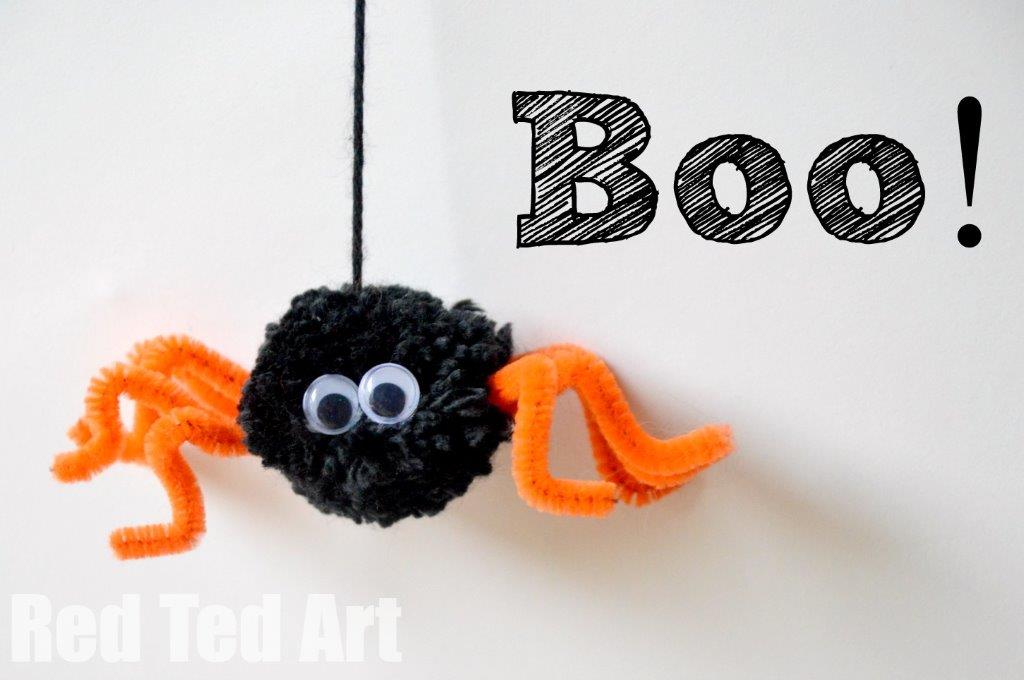
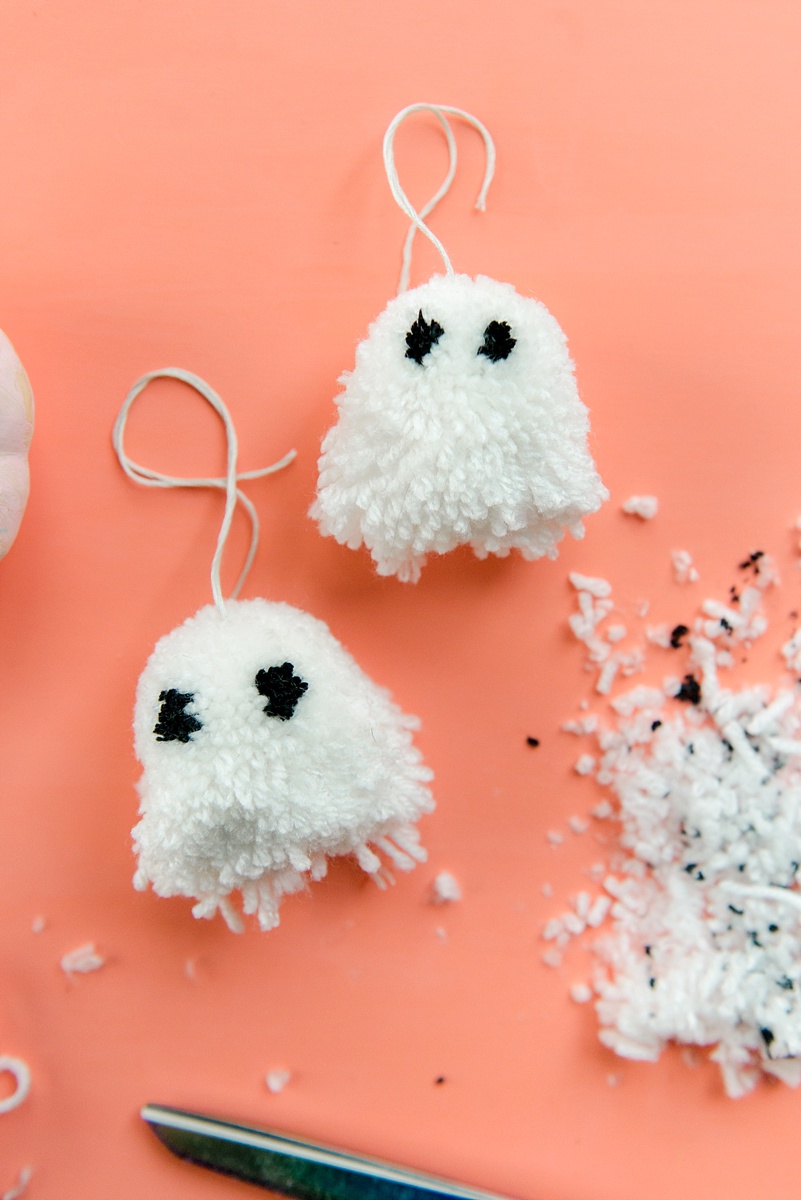
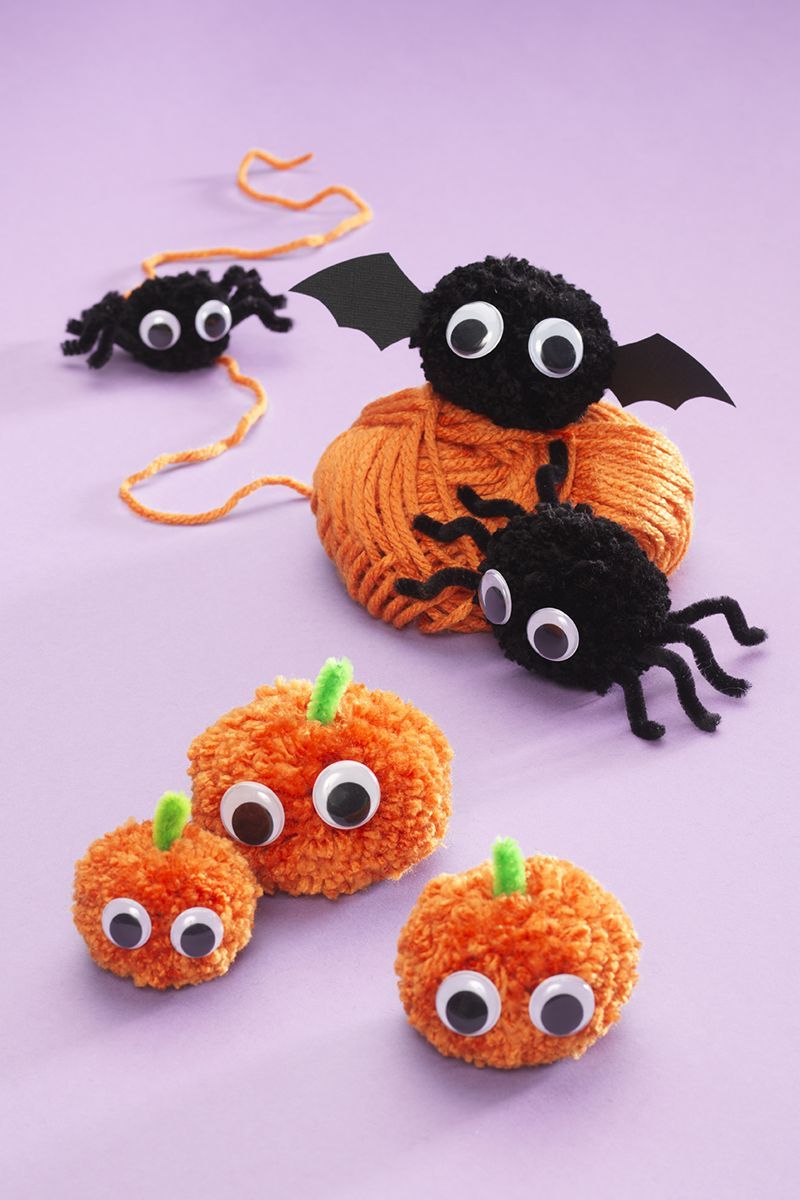
Pipe cleaners, coloured card and/ or felt and googly eyes can all be used creatively to make creepy characters including ghosts, spiders, pumpkins and bats, to name a few heroes of Halloween. What are you going to make?